Yes, you can run a Nintendo DS emulator on iPhone without jailbreaking — retro emulators are now allowed on the App Store. A good NDS emulator for iOS has to solve three problems: fitting the DS's two screens onto one display, turning your iPhone's screen into the DS touch screen, and booting your legally owned game backups without extra setup. GamePod Emu (free download, iOS 18.6+) handles all three: it plays .nds files with no BIOS files to hunt down, offers adjustable dual-screen layouts, and adds save states and Bluetooth controller support.
What is the best Nintendo DS emulator for iPhone in 2026?
If you search for the best DS emulator iPhone 2026 threads keep recommending, you'll see two camps: single-purpose emulators with DS cores, and multi-console apps. The catch with several popular options is setup friction — Delta, for example, won't boot DS games until you supply BIOS and firmware files that are genuinely hard to source legally. That's the step where most people give up.
GamePod Emu takes the multi-console route: one app covering 12 systems, including NDS, Game Boy Advance, SNES, PS1, and more, with a 4.7-star average across 7,300+ ratings. Its DS support works out of the box — import a .nds backup and play. The app is free to download; some consoles and advanced features sit behind an optional Pro upgrade, and as with any emulator, smoothness depends on how recent your iPhone is. DS titles are far less demanding than 3DS games, so most supported devices handle them comfortably.
Do you need a BIOS file to play DS games on iPhone?
Not with every emulator — and this is the biggest practical difference between them. A BIOS is the console's own boot firmware (for the DS, typically bios7.bin, bios9.bin, and firmware.bin). Some DS cores emulate the hardware so faithfully that they refuse to start without these files. Because that firmware is copyrighted, no one can legally hand it to you; you'd have to dump it from a DS console you own, which requires extra hardware and patience.
If you want a DS emulator for iPhone with no BIOS requirement, GamePod is the simpler path: its NDS core boots games directly, so there is nothing to dump, download, or place in a magic folder. You still provide your own game backups — that part never changes — but the firmware scavenger hunt is gone.
How do dual screens work on one iPhone display?
The original DS had two 256×192 screens: gameplay usually on top, maps, menus, and touch input on the bottom. A dual screen emulator on iOS has to arrange both on a single tall display. In portrait, the natural answer is stacking them — top screen above, touch screen below, which mirrors how you held the real handheld. In landscape, a side-by-side view gives each screen more width at the cost of some size.
GamePod lets you adjust the screen layout per game, so a top-screen-heavy RPG can emphasize the action while a touch-driven puzzle game keeps the bottom screen large and reachable. Modern iPhone displays are sharp enough that both DS screens together still render well above the handheld's original resolution.

How do touch and microphone features work in DS emulation?
Touch is where an iPhone is actually a better fit than most platforms. The DS's bottom screen was resistive and stylus-driven; in emulation, the on-screen touch area simply responds to your finger, so drawing, dragging, and menu taps feel immediate. For games that expect stylus precision, playing in a layout that keeps the touch screen large helps, and GamePod's per-console controller skins keep the D-pad and buttons out of the way of the touch area, with haptic feedback on presses.
Microphone-based moments — blowing out candles, shouting at the screen — are a niche but real part of the DS library. Honest answer: mic support is inconsistent across iOS emulators, so if a favorite game leans heavily on the microphone, test it early rather than assuming it will behave exactly like original hardware.
Can you play DS games with a physical controller?
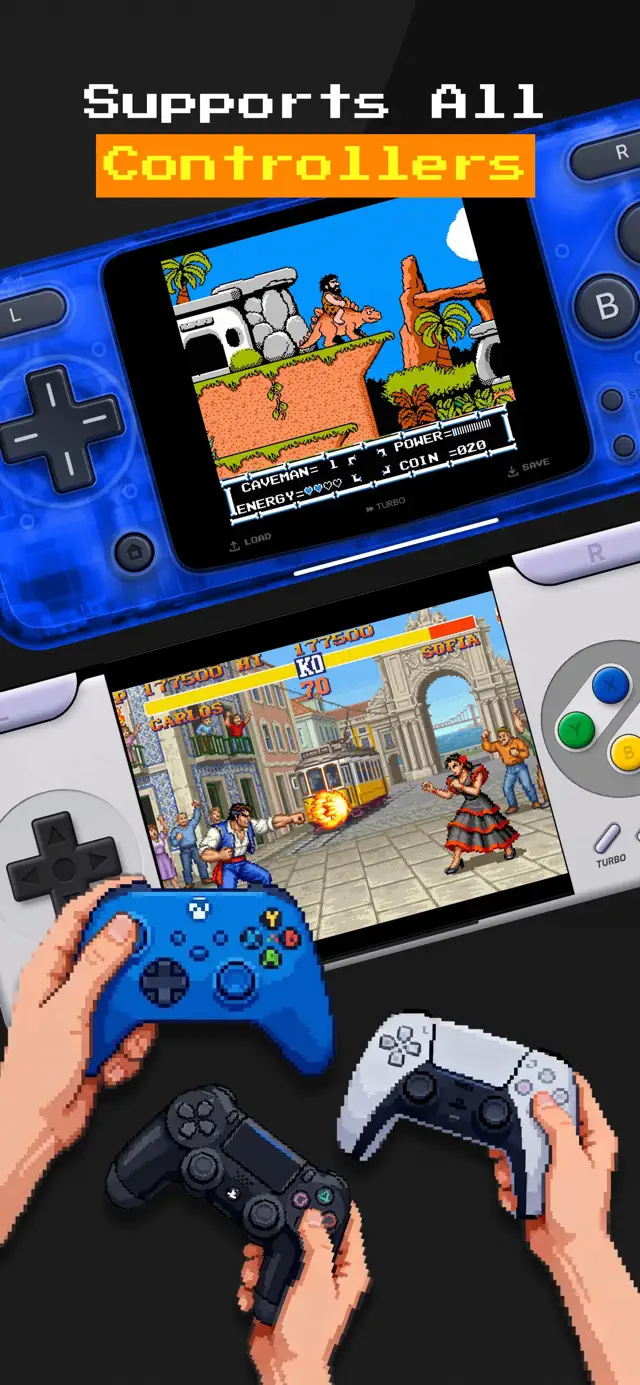
Yes. A DS emulator iPhone controller setup works well because most DS games use the D-pad and face buttons for everything except touch. GamePod supports Xbox, DualShock, and DualSense controllers over Bluetooth: pair the pad in iOS Settings, and the app maps it to the DS's buttons automatically. Your iPhone screen stays free to act as the touch screen, which is arguably the best of both worlds — physical controls for movement, direct touch for stylus input.
For pairing steps, button remapping tips, and which pads work best, see the full iPhone emulator controller guide.
How to set up a Nintendo DS emulator on iPhone with GamePod
From App Store to gameplay takes about five minutes:
- Install GamePod Emu. Grab the free download from the App Store (iOS 18.6+, iPhone and iPad, about 161 MB).
- Move your DS backups into the Files app. Copy the .nds files of games you own into iCloud Drive or On My iPhone — AirDrop, a cable, or a cloud drive all work. Full walkthrough: how to add ROMs to an iPhone emulator.
- Import the games. Open GamePod, switch the library to NDS, tap import, and select your files. The library pulls in cover art so your collection looks like a shelf, not a file list.
- Pick a dual-screen layout. Launch a game and choose the arrangement that suits it — stacked in portrait for authenticity, side-by-side in landscape for bigger screens.
- Set up controls and saves. Play with the DS-style touch skin or pair a Bluetooth controller. Use the in-game SAVE and LOAD buttons for instant save states, lean on auto-save as a safety net, and hit TURBO to fast-forward slow scenes.
Everything runs offline once your games are imported — no account, no connection required for play.